Is Ss Power Package for Twin Cam Easy to Install
S&S 100-inch Twin Cam Package
There are many ways to make power out of a stock motor. But as the old adage goes, there's no replacement for cubic displacement. Upgrading the inches can be a long and expensive process requiring specialized equipment and tools. The beauty of this S&S 100-inch Power Package for the Twin Cam 88 is that it can be done by a skilled mechanic in your home with basic tools, a few specialized tools, and a press without having to split the cases. If you are a little unsure of everything that goes into taking apart a motor and putting it all back together again, then by all means enlist the help of a qualified shop. We did just that and utilized long-time performance builder Bennett's Performance out of Long Beach, California. From teardown to build-up took a couple of afternoons with the usual pauses when running a full-time shop. Either way, carefully follow supplied directions for detailed steps, bolt sequences, torque specs, and lube and lock-tight specifications.

Step 1
Without even having to remove the tank, we started with disassembly of the stock 88-inch motor.
Step 2
The motor was taken down to the bottom end, including removing the heads, exhaust, covers, and all attached accessories.
Step 3
After removing the cam cover, the stock bearings were removed.
Step 4
Here's a comparison of the stock cam bearings and the supplied ones from S&S. You can see the S&S bearings (left) are more closely packed than the stock ones (right).
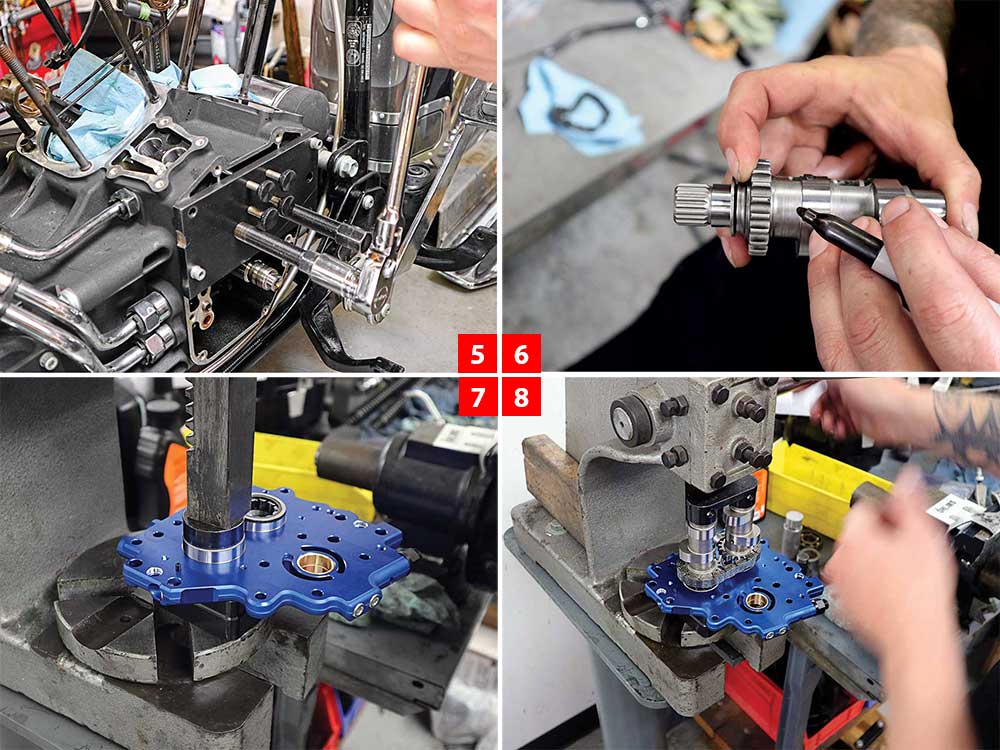
Step 5
Using a cam bearing tool, press in the new cam bearings carefully.
Step 6
Follow instructions explicitly to press in new cams with supplied hardware. Tip: Re-mark the timing marks with a permanent marker alongside the cam. This will aid when lining up the cams for the cam chest easier.
Step 7
Using a hydraulic press, install the supplied outer cam bearings to the cam plate.
Step 8
Align the cam timing marks and install a secondary cam chain in the original direction of travel.
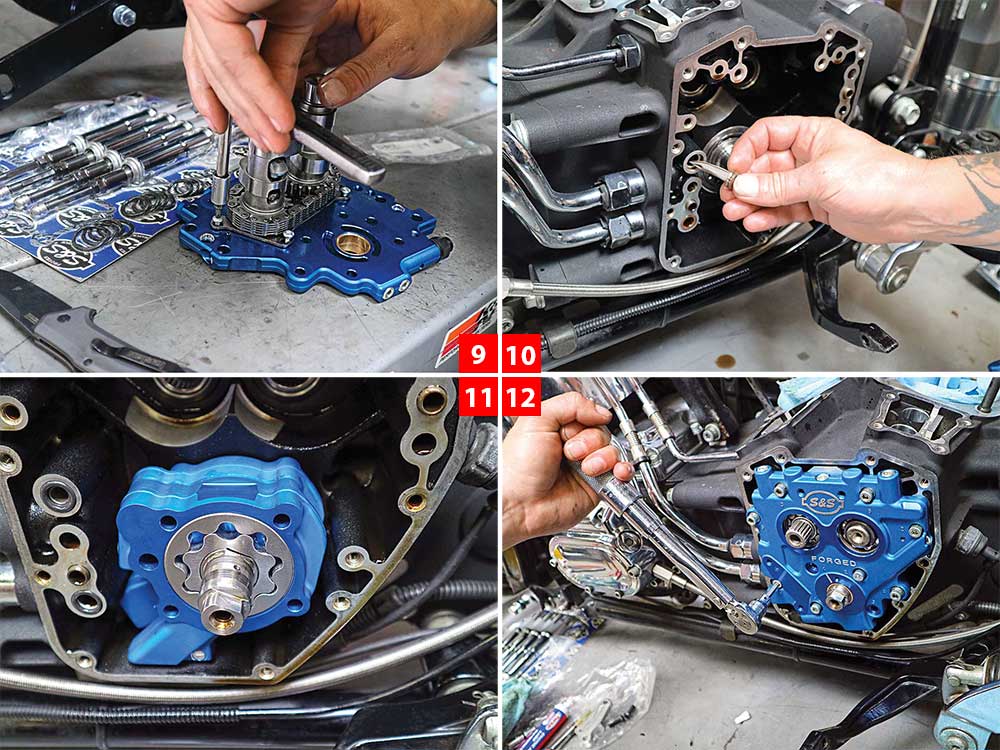
Step 9
Finish assembly of the cam chest following instructions, including lube and torque settings.
Step 10
Before proceeding, inspect the pickup screen for the scavenge side of oil pump-oil-passageways making sure it's free of metal debris. Replace O-ring with supplied unit.
Step 11
Follow instruction assemble and install S&S oil pump. Place straight edge across the front of the cam chest, and make sure the face of the pump does not protrude past the cam chest gasket surface.
Step 12
Install the cam chest bolts using supplied sequence in direction. It should bolt on easily. Torque and lube to specs.
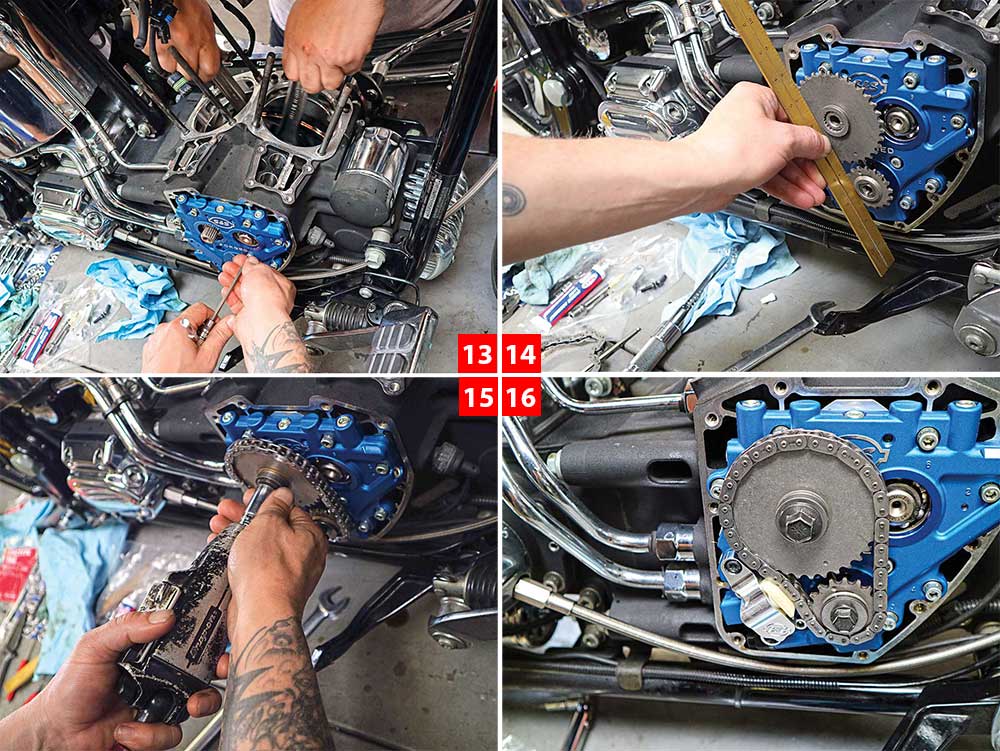
Step 13
pWith an extra set of hands, pump the crank, tighten the oil pump, and torque to specs. This is called aligning the oil pump and can help prevent excessive oil problems.
Step 14
After installing out-drive chain and sprockets with timing marks aligned, double-check using a straight edge to make sure they are properly aligned.
Step 15
Install chain and torque to specs.
Step 16
Follow instructions to install the supplied outer cam chain tensioner and torque to specs.
Step 17
Double-check all torque settings and install the new gasket and cover using supplied sequence.
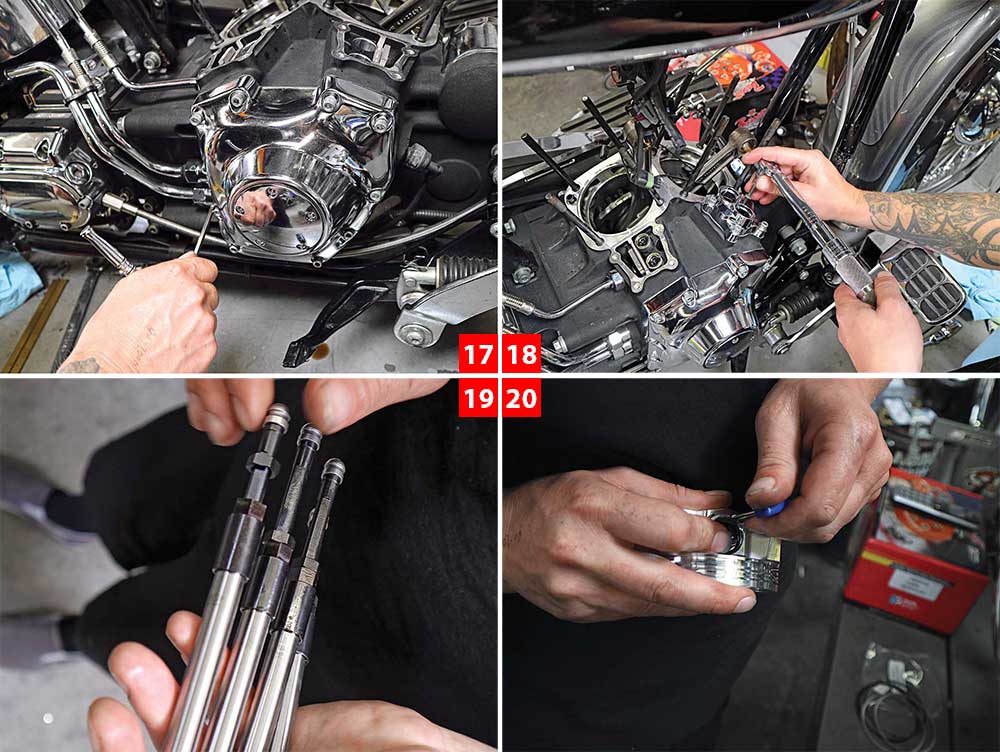
Step 18
Coat supplied tappets with engine oil or assembly lube and install in tappet guide bores. Install tappet cover gasket and tappet cover.
Step 19
Clean and inspect the pushrod tubes. Apply a light coat of engine oil to the O-rings and assemble pushrod tubes.
Step 20
Install one of the piston pin clips into each of the pistons according to the instructions included in the piston kit.
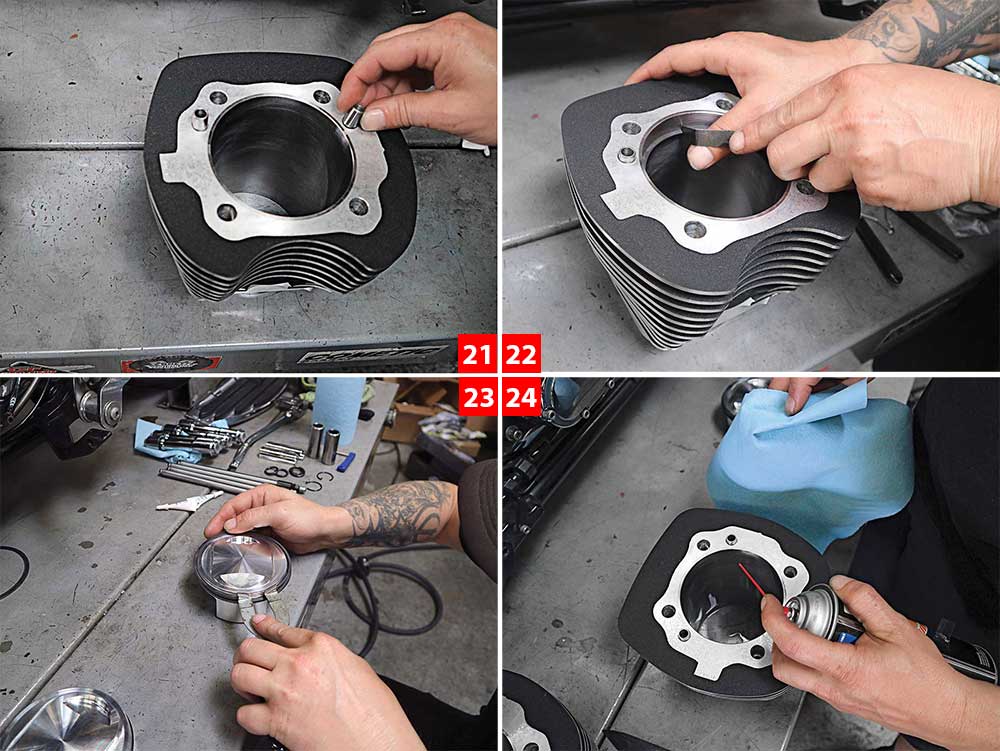
Step 21
Install cylinder head alignment dowels.
Step 22
Using instructions for specifications, measure the ring end gap with a feeler gauge.
Step 23
Install oil rails. Install the second ring with the "N" facing up. Use an expander to install the ring to the second groove in the piston. The top ring must be installed with the dot facing up. Use a ring expander tool to install the ring to the top groove. Reference instructions from proper orientation and alignment.
Step 24
Thoroughly clean heads ensuring no material or debris is present.
Step 25
Compress ring pack by using a suitable ring compressor. If possible, position the ring compressor so that you can see the oil expander gap during installation.
Step 26
Install the cylinder on piston, making sure not to overlap oil ring expander. Remove ring compressor and install other piston pin clip.
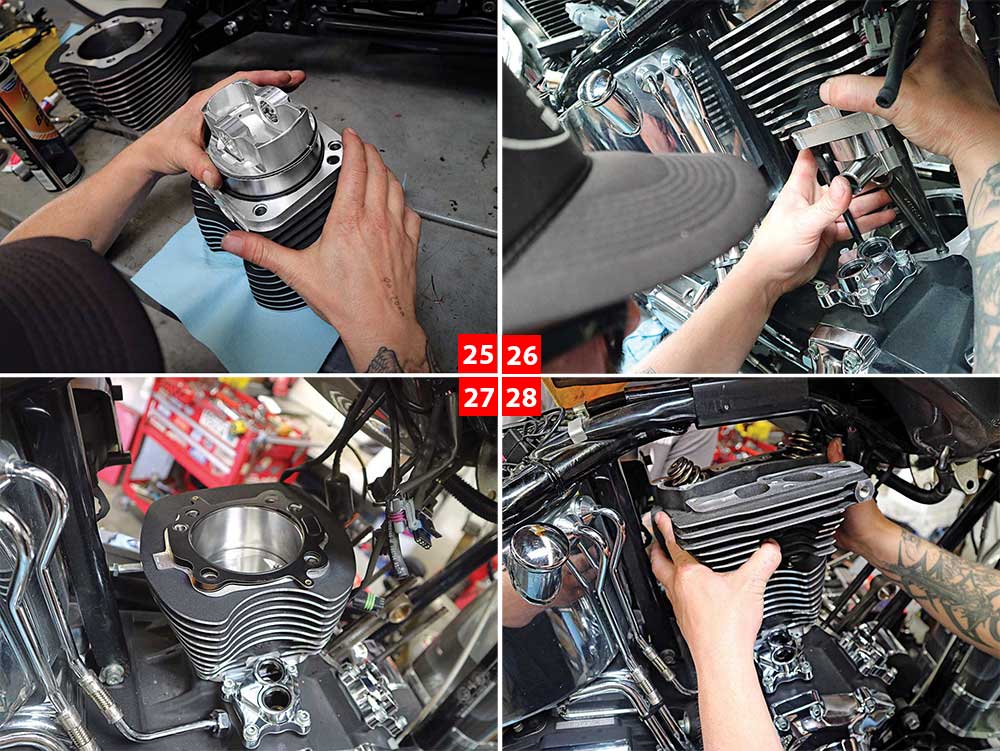
Step 27
Install the head gasket and torque to specs using specific sequence.
Step 28
Install head and ensure all torque specs, gaskets, and lubrications are followed according to instructions.
Step 29
Repeat entire process with the other cylinder.
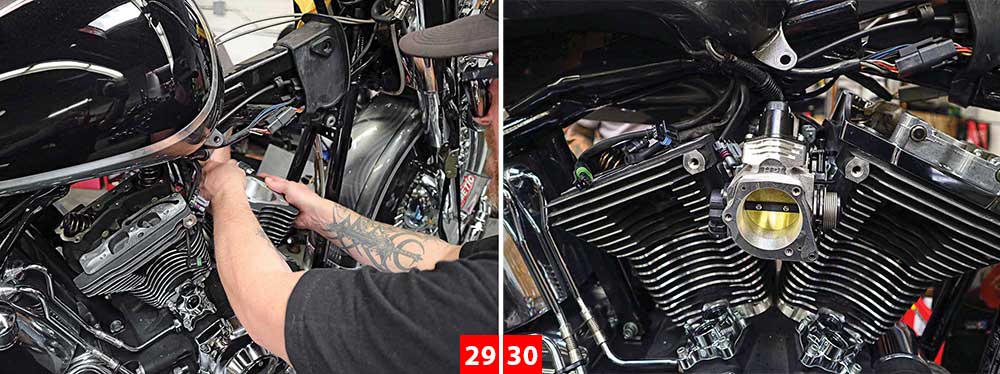
Step 30
Assemble the remaining items according to the service manual specific for your motorcycle.
Source: https://hotbike.com/ss-100-inch-twin-cam-package/
0 Response to "Is Ss Power Package for Twin Cam Easy to Install"
Enviar um comentário